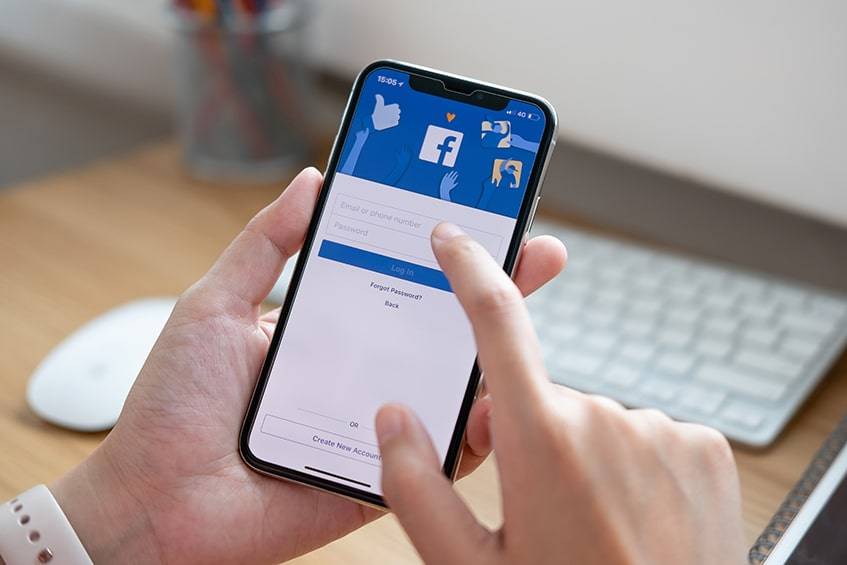
Facebook Places, through ‘check-ins’ allows social media lovers to instantly share their current location with friends. These could be visits to exotic sites, travels, and more. Typically, they register their presence at the destination, share location data (and photos) with friends, and make comments about their experience.
More so, businesses are not left out. With every check-in, they get to enjoy endorsements and personal referrals from customers. They are thereby getting free and effective advertising with this new tool. This article covers every detail on how to check in on Facebook.
Table of Contents
Introducing Facebook Places
This is a tool that enables Facebook users to alert their friends to their current whereabouts. It allows individuals to update their buddies about where they are and what they are doing in real-time. They can also make comments on every place they visit and take advantage of certain coincidences (like being in the same concert with another friend).
However, various users have differing reticence thresholds. The application contains several settings that enable users to keep their privacy.
Quick Guide on How To Check in on Facebook

The check-in feature is an element of Facebook. Users can assess it using any of these two platforms: the mobile application and the desktop site. This section provides a simple guide on how to check in on Facebook.
Mobile Application
Smartphones are handy. They make it easy for owners to upload audios, pictures, and videos at home and on the move. Hence, both Android and iPhone users can enjoy Facebook check-ins. How does it work? Find out below.
- Launch the Facebook app with a smartphone.
- Tap on “What’s on your mind” displayed at the top of the screen.
- Click on ‘Check-in’ then tap ‘Search’ or ‘Add a Place’ displayed at the top of the screen.
- Type the name of the new place into the input field.
- Click on the ‘What’s on your mind’ field to add a comment. (This is optional).
- Now, click on ‘Add’ shown at the bottom of the screen.
- Finally, click on the Post button at the top right corner.
Desktop Site
Most desktop users do not have an inbuilt GPS location switch. Thus, a different procedure is used for Facebook check-ins. This method is explained in detail below.
- Go to Facebook using a web browser.
- Click on “What’s on Your Mind” displayed at the top of the window.
- Click on the “Check-in” icon.
- Then, click on “Where are you.”
- Now, type the name of the place.
- Click again on “What’s on Your Mind.”
- To add friends to the check-in, click on ‘tag people’ (a plus sign at the bottom of the dialogue box).
- Finally, click “Post” on the dialogue box.
How to Enable Check-In on Facebook
Check-in on Facebook makes the network more fun. However, its relevance is not restricted to mere social engagement. Businesses also stand a chance to gain much from the tool. Hence, the need to activate the feature. There are two steps: first, claim the page and then merge it with the main account.
The information below explains these steps in detail.
Claiming an Existing Facebook Places Page
Anyone can create Facebook Places: customers or proprietors. Thus, it is essential to confirm if the company already has an account before opening a new one. To get this confirmation, search for the company name using the search field at the top of the screen.
If the result displays the name, it indicates that a local account exists already. Thus, the owners can proceed to claim it according to the app’s terms. The direction for this is discussed later in this article.
In the case where it does not display an existing account, it means that the establishment is not registered on Facebook Places. Thus, users would have to check in the company and claim it after that.
Hence, the next item provides a step-by-step guide on how to claim an existing Facebook places account.
- Search for the venture’s name using the search field at the top of the home screen
- Then, click the ‘star’ menu.
- Tap on “Is this your business?”.
- Then, provide the necessary information requested in the form.
- After that, claim it and confirm all the necessary verifications.
- Click ‘Submit’ to complete the process.
After claiming, the next step is to merge both walls (Facebook account and Facebook place). This is also easy to do. There are more details below.
Merge Facebook Account with the Facebook Places Page
The process is much more straightforward for Facebook newcomers. They need to select the ‘Local Business’ category when creating their account. Then, the website will automatically generate a Place account and merge it with the main profile.
However, existing users can also easily merge their accounts and Places page. This section provides terms on how to go about it.
- From the top of the screen created for the company, click “Edit Page.”
- Select ‘Merge Pages’ and click ‘Merge duplicate pages.’
- Fill out the form and press “Send.”
6 Reasons Why You Should Use Facebook Places?

The best times are always when friends and family gather around. However, these moments are often short-lived. Now, buddies can bond with each other without limits. With Facebook Places, they can share every moment of theirs. Also, companies are not left out as check-ins provide them a ton of benefits in growth and revenue areas.
Record More Sales
Check-in ensures that individuals never miss a chance for a sale. It provides all the information a potential customer would search for (like name, address, rating, direction, company’s account link e.t.c.). Also, each check-in upload comes with some added benefits. Facebook gives a chance to promote offers like discount sales and Black Friday.
Increase Exposure
At least 200 users see every check-in upload (often, the views are more than that). This means that every time a customer checks in, they recommend the business to over 200 prospects. This is a very effective method to increase exposure and get new customers.
Never Miss a Chance to Meet Up
Sometimes, missing out on hangout opportunities can be difficult. Thus, the site makes sure that it never happens. Since the tool allows facebookers to share their location, they can know if a friend or relative is in the area. This way, they can easily organize a meetup.
Sharing Is Caring
This works well for long-distance relationships. Individuals can keep their loved ones updated with their media uploads. They can share events, achievements, travels, or hangouts with well-wishers and relatives. Users can also tag those that the content is more specific to.
Excellent Travel Companion
With Facebook places, travelers can capture every moment of their tour. The site allows them to keep a record of where they have visited. It also permits them to scribble down their experiences. Thus, they can securely save memories of beautiful sceneries, memorable moments, and new friendships as they travel.
Flaunt the Classy Lifestyle
It is fun to share those luxury and exotic moments with loved ones. Thus, individuals use Facebook Places to show off their jet-setting lifestyles. With this, they can also get some extra likes, comments, and friend requests. Moreso, this benefit is not limited to exhibitionists alone. Companies can also display some of their collections to attract more attention and customers.
FAQ Section
Where Is the Check-In Button on FB?
To access the check-in button on the app and website, click on the “What’s on Your Mind” field shown at the top of the screen. Then, a list of options will appear. The icon is a small, red, and inverted tear-drop symbol. The description, “Check-In,” is boldly written next to this icon.
Who Can See Your Check-Ins on Facebook?
For personal and security reasons, this feature allows users to control who sees their check-ins. There are basic options:
- Public – this option opens up access to everyone.
- Friends – this restricts viewing access to only those on the friend list.
- Friends except – with this, users can hide their media from selected people.
- Specific friend – here, only specific facebookers can view the post.
- Only me – this allows only the user to view the personal feed.
How do I Make My Facebook Check-in Private in 2024?
The platform offers adequate settings for account owners to control the visibility of Facebook check-in. To do this:
- Tap on the privacy in the home menu and then select “Privacy Shortcuts.”
- Under the activity section, select “Who can see your future posts?”.
- Then, click on “Try it now.”
- Tap on the small settings sign under the account name displayed at the top of the screen.
- This then brings a list of options available.
Users can select the option that best suits them. They can also change the restrictions on past or specific posts. To do this, visit the post and follow the instruction on the third bullet point.
How Do You Check in on Facebook Somewhere You Are Not?
A question that is common among many account owners is: “how do I check in on Facebook in a place I’m absent?”. Interestingly, individuals can fake their location on their pictures. They can check in to any place in the world even when they are not there. Here is how it works.
- Open Facebook and select the three-dot menu icon at the top-right corner.
- Select Check-in from the icons at the bottom.
- Type in an address in the search box or select a previously visited location.
- Type a comment in the ‘What’s on your mind?’ field.
- Click on ‘Post’ to activate the check-in.
Is It Advisable to Check In?
In a view to promoting easy and fast communication, Facebook embellished its site with the check-in and places features. This tool helps people to connect better by sharing their location with friends. It also helps to advertise businesses at no cost. Globetrotters and tourists are not left out. The feature enables them to keep a record of their campaign. Hence, it is relevant to everyone.
Despite the various benefits that the tool provides, improper use can be dangerous. It can expose individuals to security threats. That being said, anyone who does not check in is missing a ton.
Have you had any experience using this app? Let other users know about it in the comments below.

Comments